Customize application display options to determine how applications are displayed in the Admin and User Portals. Keep the default logo, use a color indicator, or upload a custom app logo to differentiate your applications.
Pre-built connectors default to the logo display option, which is pre-populated with the service provider’s logo. The Custom OIDC App and the Custom SAML App default to the custom OIDC or SAML App logo while the Bookmark URL defaults to the color indicator.
![]()
Users are implicitly denied access to applications. Users won’t see applications in their User Portal unless you authorize user access to that application. See Authorize Users to an SSO Application for more information.
Using the Application Logo
- Go to the JumpCloud Admin Portal.
- For a new application:
- Go to USER AUTHENTICATION > SSO and then click +Add New Application.
- Select a Custom SAML App, Custom OIDC App, or URL Bookmark from the Configure New Application list view.
- For an existing application:
- Go to USER AUTHENTICATION > SSO.
- Search for and select your application.
- In the General Info tab, set the Display Option to Logo.
- For an existing application, click save. For a new application, complete the remaining required fields, then click activate.
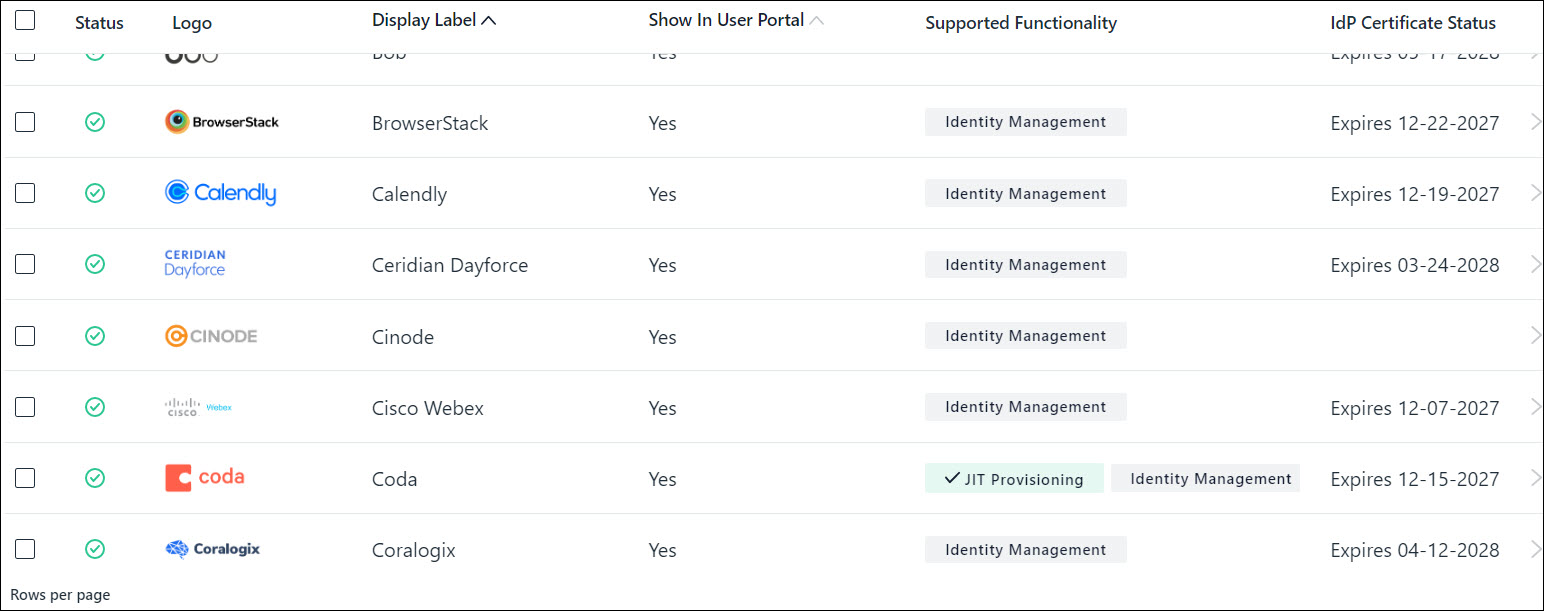
When using the Logo Display Option, applications in the Admin Portal are displayed like this:
Using the Application Color Indicator
- Go to the JumpCloud Admin Portal.
- Go to USER AUTHENTICATION > SSO.
- Select an application from the Configured Application List view or the Configure New Application list view.
- In the application details panel, set the Display Option to Color Indicator, then select the color of your choice. The first letter of the application’s name is used in the Color Indicator.
- For an existing application, click save. For a new application, complete the remaining connector fields, then click activate.
When using the Color Indicator, applications in the Admin Portal are displayed like this:

Uploading a Custom Application Logo
Prerequisites
- The maximum file size you can upload is 100 KB.
- You can upload .png, .jpg, or .svg file types.
- The minimum resolution is 150px X 150px.
- For best results, upload an image with a transparent background.
- When you upload a custom application logo and then go to the Color Indicator, your custom application logo is deleted.
To upload a Custom Application Logo
- Go to the JumpCloud Admin Portal.
- Go to USER AUTHENTICATION > SSO.
- Select an application from the Configured Application list view or the Configure New Application list view.
- In the application details panel, set the Display Option to Logo, then click replace logo.
- Click select file to upload your custom app logo.
- After you select a file, a preview of the logo is displayed. If you don’t like what’s previewed, click upload different logo to choose a different file.
- For an existing application, click save. For a new application, complete the remaining SAML connector fields, then click activate.
When a user logs into their user portal, their applications display the custom application logo.
Restoring a Default Application Logo
- Go to the JumpCloud Admin Portal.
- Go to USER AUTHENTICATION > SSO.
- Select an application from the Configured Application list view that has a custom application logo.
- In Display Option, click restore default logo.
- For an existing application, click save. For a new application, complete the remaining required connector fields, then click activate.
Displaying the application in the User Portal
![]()
By default, applications are displayed in the User Portal.
- Go to the JumpCloud Admin Portal.
- Go to USER AUTHENTICATION > SSO.
- Select an application from the Configured Application list.
- Ensure the Show this application in User Portal checkbox is selected or deselected appropriately.
- Click save.